|
Texturing - Paint Effects and Setups 5a
The following sections will discuss several different methods for Car Paints and explore methods and adjustments to get specific results.
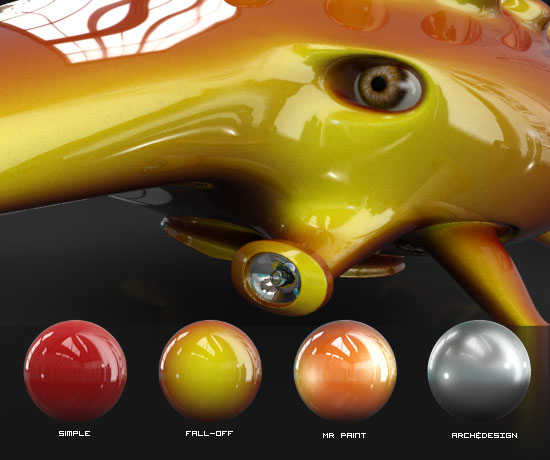
1. Simple Raytrace paint effects.
 The simplest method to create a Car Paint is to use the standard Raytrace material. Simply select a colour (216,0,0) for diffuse and set raytrace to Fresnel. The simplest method to create a Car Paint is to use the standard Raytrace material. Simply select a colour (216,0,0) for diffuse and set raytrace to Fresnel.
By using Fresnel we are basically using a fall-off map for the reflectivity - so the paint is more reflective at higher angles to the viewer (at the edges).
To control the reflectivity fall-off we can simply adjust the Index of Refr. The default value of 1.55 is OK, but increasing this to about 1.75 will increase the reflectivity.
Another setting to adjust is the Glossiness - for normal paints this should be quite high (in this example 90), lower values can be used for silvers.
The Environment setting is where we define the environment map - which will be reflected in the paint. Here I am using the same Fake HDRI we created in the previous section.
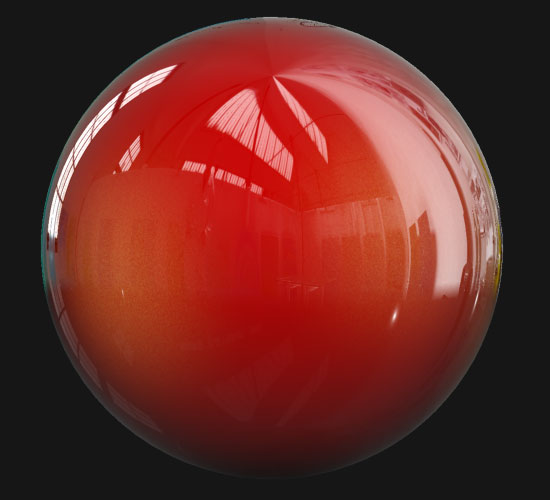
Rendering with this setup we get the image below:
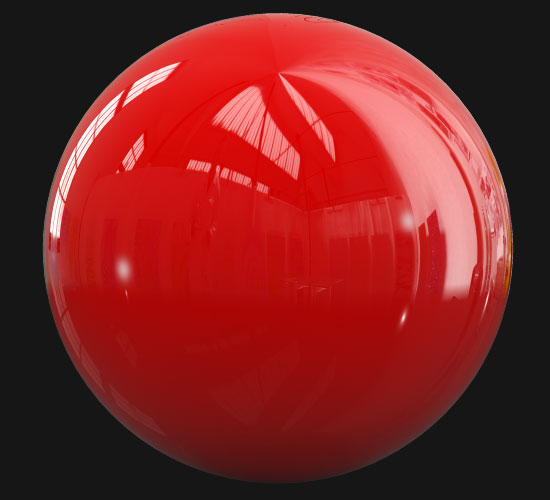
Simple Car Paint Raytrace Material
This looks OK, but a little simplistic. We can add depth to the paint by using a Fall-off map in the diffuse slot, so that the colour changes depending on the angle viewed (in the same manner as the reflectivity). Add a Fall-off map to the Diffuse slot :
And with the following setup:
 The Front Colour is the same as above (216,0,0) and the Side Colour is set to (40,0,0) or Black. The Front Colour is the same as above (216,0,0) and the Side Colour is set to (40,0,0) or Black.
The Falloff Type is the default Perpendicular / Parallel. this will give a smooth blend from the Front Colour facing us to the Side colour when on an edge at 90 degrees to us.
Another option is to select Fresnel for Falloff Type. This will enable a control of the Falloff between Colours through the Index of Refraction settings in the Mode Specific Parameters section. At the default 1.6 setting the Falloff is less linear than Perpendicular / Parallel.
Rendering with this Fall-off map in the Diffuse slot will give us:
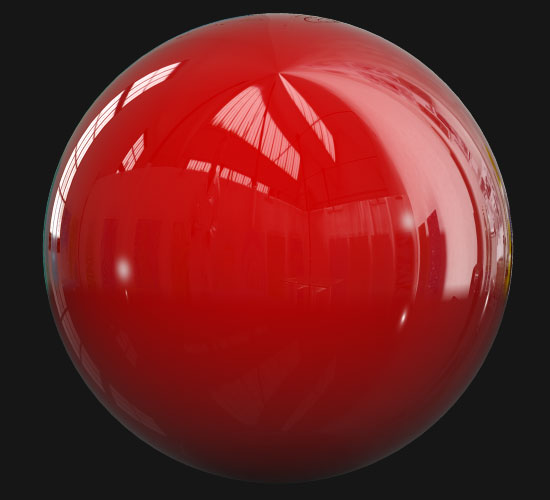
Simple Car Paint Raytrace Material using Falloff Colours
Fake Mettalic Effect
The addition of fall-off to the colour produces more depth to the paint effect. But, we can also add a little speckle to speculars to fake metallic flakes. To do this we need to adjust the material's Glossiness values as shown below:
 Adjust the Specular Level to 90 and the Glossiness value to 20. This will create a large soft specular area (presently white). Adjust the Specular Level to 90 and the Glossiness value to 20. This will create a large soft specular area (presently white).
We will adjust this specular highlight to mimic metallic flakes.
Add a noise map to the Spec. Level slot, and a noise map to the Spec. Color slot.
Noise maps added to Spec. Color and Spec. Level slots
Adjust the settings of the noise modifiers as follows (again the size settings will depend on the scale of your model/scene).

Spec. Level - Set Color#1 to 0,0,0 and Color#2 to 190,190,190 and size to 0.1
Spec. Color - Set Color#1 to 136,0,0 and Color#2 to 255,209,70 and size to 0.1
Uisng the above settings we get the following render - notice the specular blume is now scattered and coloured:
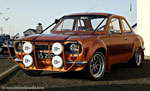
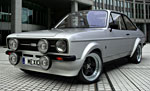
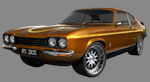
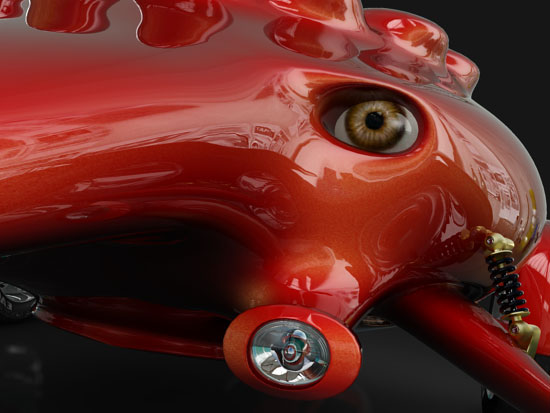
This paint is shown below rendered on the Schnorbill model. Experiment with different colours and falloff for different paint effects. In the next section we will look at adding more complexity to the falloff maps.
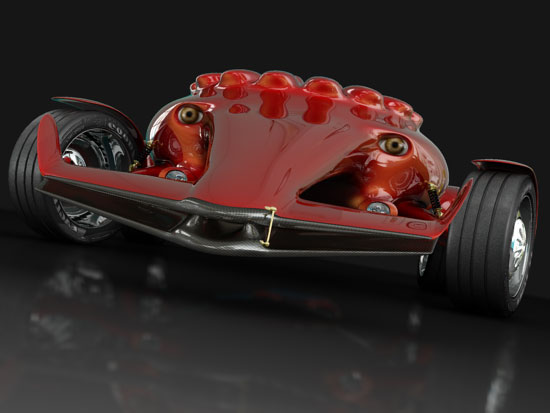
Close-up:
|
This Tutorial is copyright © www.dmmultimedia.com
and must not be reproduced in ANY form without prior written consent. |
|
|
 DM
Multimedia Ltd
DM
Multimedia Ltd