3D Graphics, Tutorials and Tips
Using 3DS Studio Max and Mental Ray


3D Graphics, Tutorials and Tips
Using 3DS Studio Max and Mental Ray


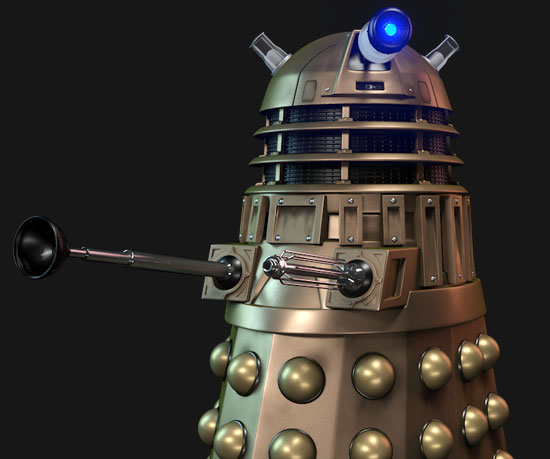
Dr. Who's arch-nemesis, the Dalek as classic Genesis and New Series versions
H.M.S. Nelson, big gunned capital warship from WWII
Edwardian house. Old school architectural renderings
Assorted models and renders
These tutorials focus on using the Mental Ray renderer (iRay tutorials in preparation). The production shaders enable the easy integration of 3d Models into photographs.
These renders have been created to visualise scientific concepts and experimental layouts. A 10 minute HD film was also created.
Geological Waste Disposal Bluray/HD 2009
Geological Waste Disposal DVD 2003
PSG Experiment - Grimsel (Nagra)
Rendering and compositing of 3D models for international Clients
Front cover for Burton Power Catalogue 2012
Front cover for Burton Power Catalogue 2014
Front cover for Burton Power Catalogue 2015
Front cover for Burton Power Catalogue 2016
Wavemaster Design : Ferry design renders
Car Colour Services : Colour and spraying services
Volkswagen Crafter for Volkswagen Australia
DMMultimedia | 3d tutorials | Simple Metal Material
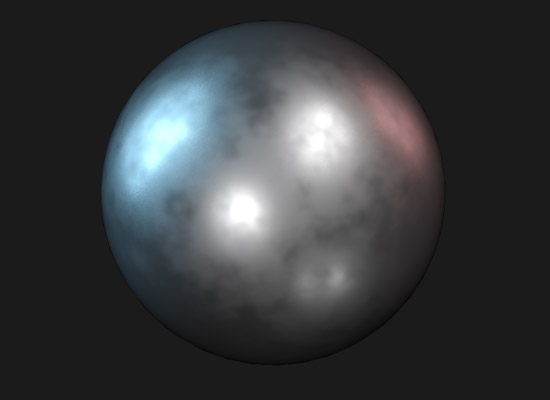
Using mental ray Arch & Design's glossy reflections it is possible to create very realistic blurred metal surfaces, but as these become less and less glossy, and more blurred, they will require more and more samples (or adjusted fast [interpolate] settings) to prevent artefacts. But if the object has very blurred reflections we can use the Highlights+FG only option and dispel with sampling all together.
If you are looking for ways to texture shiny metals with mental ray you can't do better than Zap Anderson's own explanation (http://mentalraytips.blogspot.com/). Zap's settings were used as a base for the dirty metals here.
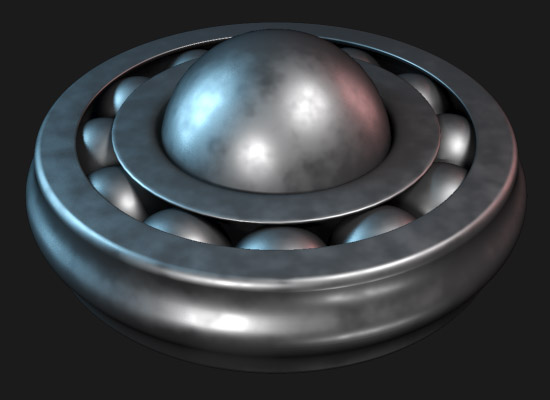
The standard Arch & Design is adjusted as follows:
Reflection is set to 1.0 - this directly controls the strength of the FG reflection (and the specular effect). Highlights+FG only and Metal material are selected.
Glossiness can be set to control the spread of the reflections / specular effect. This can be controlled with a map as shown above (exact settings of this noise texture are shown below).
Adjusting the reflectivity and glossiness levels are the key here. Adjust these to make the metal more shiny or more dull.
The Diffuse Color is also set by a map (exact settings of this falloff map are shown below). Be aware that the reflections are affected by the diffuse colour when selecting Metal material, so setting the Diffuse color to black will give no reflections at all.
Following on from Zap's metal setup, we set the IOR to a high number, in this case 18.0. The BRDF is now controlled by checking the By IOR [fresnel reflections].
The Diffuse color is set with a simple fall-off map shown above.
The Noise map controls the glossy reflections. The noise map breaks up the uniform smoothness of the reflections. Adjusting the colours and size will produce different effects, when the two colours are close to each other the result will be more subtle.
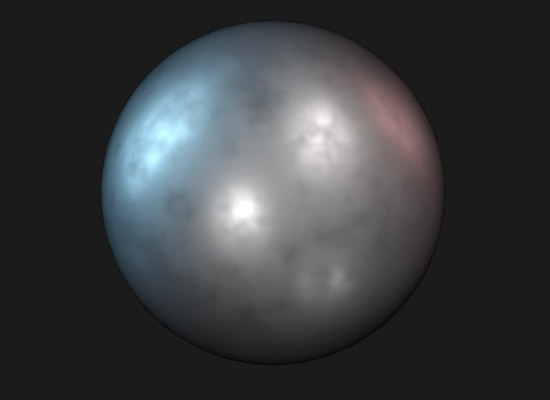
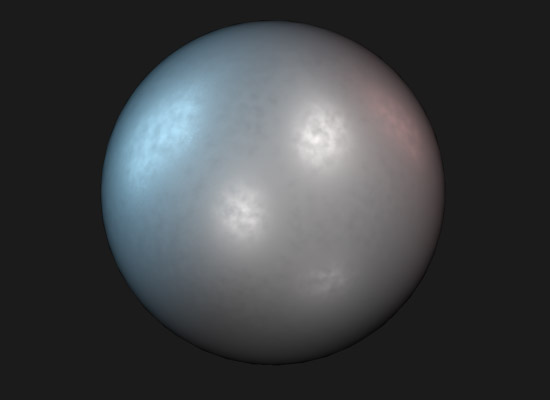
Adjust the colours and settings to create exotic Alloys and Brass: