|
Texturing - Paint Effects and Setups 5b
2. Simple Raytrace Material with Falloff effects.
 Starting with the Simple Red Car Paint Material from the previous section we will add more complexity to the Falloff maps for a more dramatic paint effect. Add another Falloff map to the Front Colour slot as shown. Starting with the Simple Red Car Paint Material from the previous section we will add more complexity to the Falloff maps for a more dramatic paint effect. Add another Falloff map to the Front Colour slot as shown.
We will now define this new Falloff material as follows:
 We now define the 2 new Colours. The Front Colour is a yellow (255,246,0) and the Side Colour is a red (225,49,49). Leave the Falloff type at the default Perpendicular. We now define the 2 new Colours. The Front Colour is a yellow (255,246,0) and the Side Colour is a red (225,49,49). Leave the Falloff type at the default Perpendicular.
Rendering with the above settings will give us:
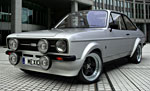
Simple Car Paint Raytrace Material using different Falloff Colours
Now we add yet more complexity by adding a Smoke map to the Falloff channel of the Front Colour as shown below:
Add Smoke map to Front Colour slot on the Falloff Map
This will add a little irregular colouring to the paint, making it less CG. Experiment with these colours to see other effects. Setup the Smoke with following values:
 Set the size to 0.1 (This will depend on the scale of your scene, or effect you are looking for). Set the size to 0.1 (This will depend on the scale of your scene, or effect you are looking for).
Set Color #1 to an Orange (213,145,0) and Color#2 to a Yellow (255,233,0).
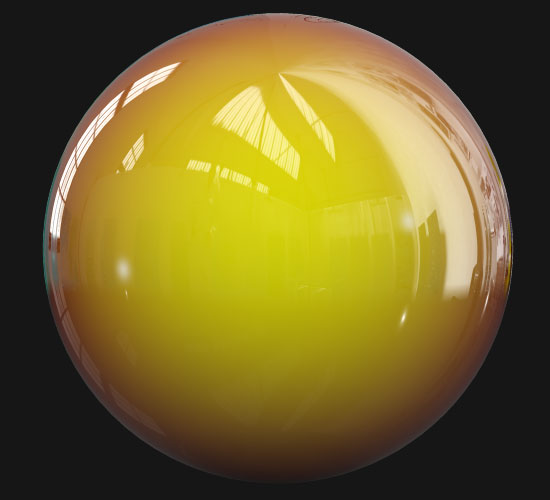
Rendering with this new Smoke layer will give us:
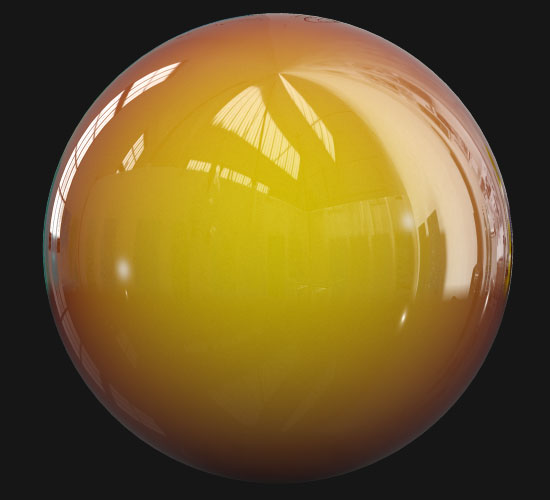
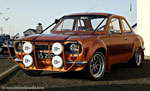
Simple Car Paint Raytrace Material using different Falloff Colours and Smoke
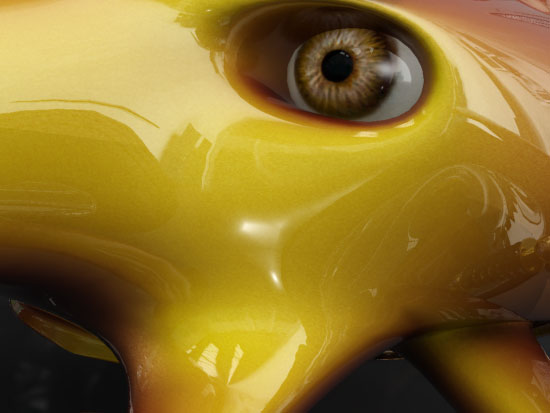
This produces a very subtle but effective way of breaking up the very regular colour facing us, making it less obviously CG. In many cases this will be overkill, but it is very convincing for close-ups. Close up below clearly shows the effect:
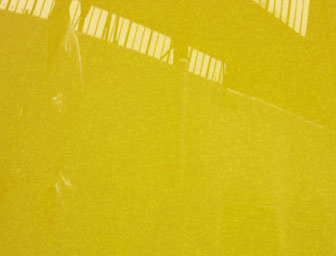
Close-up, showing Smoke effect
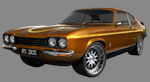
Rendering the above simple raytrace with falloff material setup on the Schnorbill model gives the result shown below.
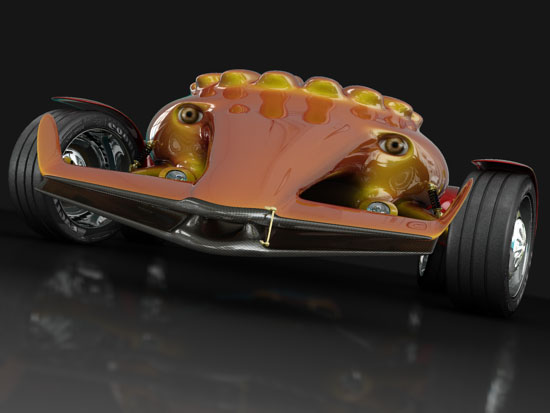
Adding the metallic effect outlined in the previous chapter gives us this - shown close-up:
In the next section we will look at the Mental Ray Car Paint Material
|
This Tutorial is copyright © www.dmmultimedia.com
and must not be reproduced in ANY form without prior written consent. |
|
|
 DM
Multimedia Ltd
DM
Multimedia Ltd