|
Texturing - Paint Effects and Setups - Exploring Mental Ray Car Paint Shader Part I
One important feature of the Mental Ray Car Paint shader is the ability of point lights to effect the surface of the paint. Because of this, to get the best use of the MR Car Paint shader you should use some direct or point lighting. All the examples on this page use a few MR Omnis (with diffuse switched off).
Using the same methodolgy as before, but this time a MR Material is used (instead of a Raytrace Mat). To this is added the MR Car Paint shader and the Simulated HDRI Environment map we created earlier. The same Environment settings (log exposure) as before are also used.
Mental Ray material with Car Paint shader and previous Env map added
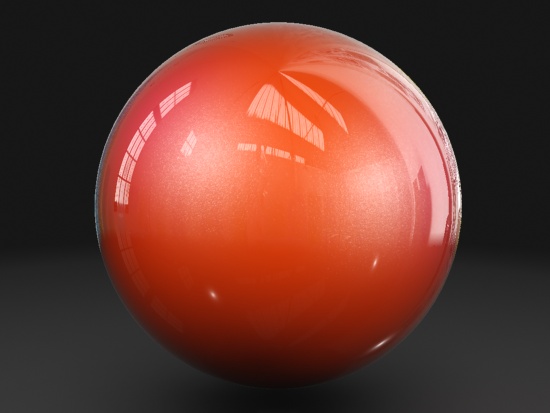
Uisng the default Car Paint shader we get:
Default Car Paint settings - starting point for adjustments
By default the MR Car Paint is a little bit too reflective, with odd specular highlights. In this section we will adjust the default values to give a different appearance.
Reflectivity settings
Go to the Reflectivity section and reduce the Facing Reflections Weight down to 0.05. This will lessen the reflectivity facing the camera. To make the paint (even) more shiny use higher values. The Edge Reflections Weight effects the reflectivity on edges facing away fom the camera (on the edge of our test sphere). The standard setting of 1.0 is a good starting point. Use lower values to make it less reflective. Adjusting these settings has the same effect as adjusting the Fresnel/Parallel settings in our Raytrace Paint material shown in the procedding section.

Reflectivity settings - adjust Facing Reflections Weight
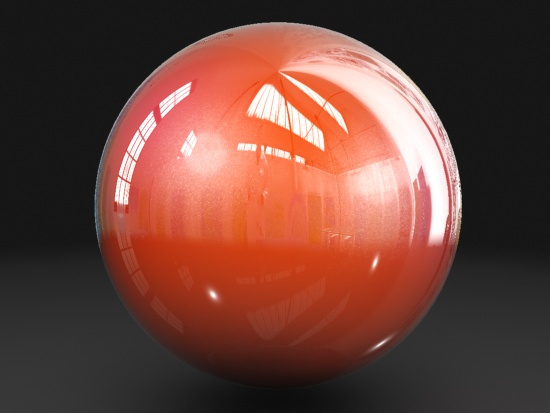
Adjusting the Facing Reflections Weight gives us:
Mental Ray Car Paint with adjusted reflectivity settings
Specular settings
The default specular settings are quite harsh, we will adjust them in the Specular Reflections section.
Adjust the Specular Weight #1 value to 0.1 and Specular Exponent #1 to 120.0, Specular Exponent #2 to 15.0
The Specular Weight adjusts the brightnness of the specular highlight, and the Specular Exponent adjusts the spread of the specular highlight. There are two Specular highlights to play with, so experiment !

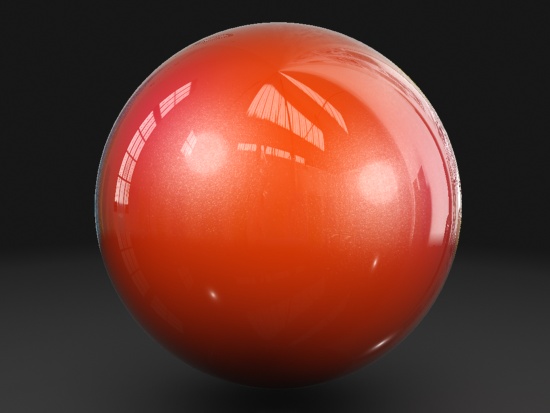
MR Car Paint with adjusted Specular highlights
Another option is the Glazed Specularity. Uncheck this to get a very smooth specular highlight. Compare the image below with the above image.
MR Car Paint with Glazed Specularity switched off
Diffuse Settings
There are quite a few diffuse values that can be adjusted. We can adjust the values to create the same types of effects as shown in the previous section.
Diffuse settings for Car Paint shader
Base Color - this is the main colour for the paint shader
Edge Color - the color at the edge, or facing away from the camera (90 degrees)
Edge Bias - Value that adjusts the spread of the Edge Color (See below)
Light Facing Color - Colour that is shown under the direct lights
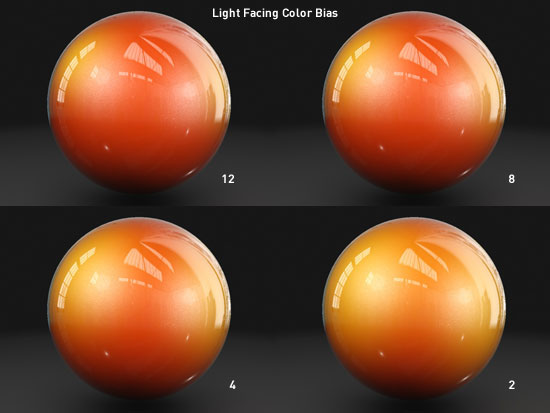
Light Facing Color Bias - Value that adjusts fade of the Light Facing Color
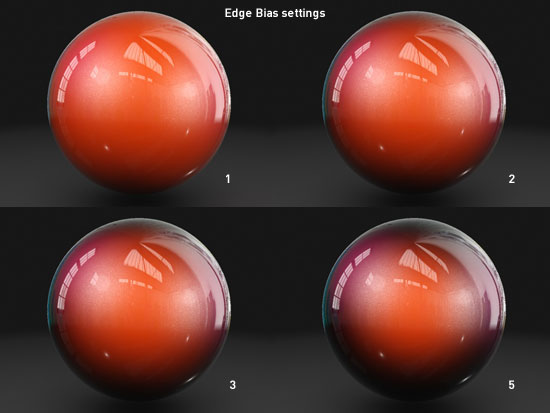
Adjusting the Edge Bias values
Adjusting the Light Facing Color Bias effects the colour facing the lights. In the examples below a yellow colour  was selected for Light Facing Color - this shows the effect better than the default red. was selected for Light Facing Color - this shows the effect better than the default red.
Adjusting the Edge Color, Base Color and Light Facing Color adjust the colour of the paint. Usually the Edge Color should be a dark colour, close to black. Experimenting with these colours (e.g. try a fall-off shader in the Base Color slot - using the same setup as the previous section) can produce many weird and wonderful colour effects :
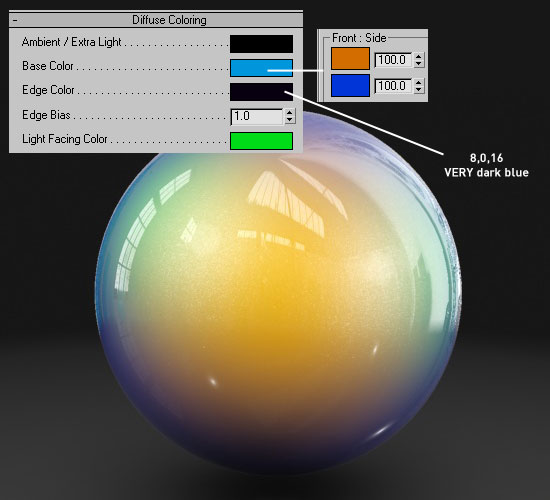
Diffuse Colors : adjusted Base (With fall-off), Edge and Light Facing Colors
Using the above paint gives:

Above paint with adjusted Base (With fall-off), Edge and Light Facing Colors on Schnorbill
Next section - Mental Ray Car Paint - Flakes
|
This Tutorial is copyright © www.dmmultimedia.com
and must not be reproduced in ANY form without prior written consent. |
|
|
 DM
Multimedia Ltd
DM
Multimedia Ltd