
3D Graphics, Tutorials and Tips
Using 3DS Studio Max and Mental Ray

3D Graphics, Tutorials and Tips
Using 3DS Studio Max and Mental Ray


Dr. Who's arch-nemesis, the Dalek as classic Genesis and New Series versions
H.M.S. Nelson, big gunned capital warship from WWII
Edwardian house. Old school architectural renderings
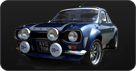
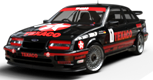
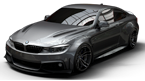
Assorted models and renders
These tutorials focus on using the Mental Ray renderer (iRay tutorials in preparation). The production shaders enable the easy integration of 3d Models into photographs.
These renders have been created to visualise scientific concepts and experimental layouts. A 10 minute HD film was also created.
Geological Waste Disposal Bluray/HD 2009
Geological Waste Disposal DVD 2003
PSG Experiment - Grimsel (Nagra)
Rendering and compositing of 3D models for international Clients
Front cover for Burton Power Catalogue 2012
Front cover for Burton Power Catalogue 2014
Front cover for Burton Power Catalogue 2015
Front cover for Burton Power Catalogue 2016
Wavemaster Design : Ferry design renders
Car Colour Services : Colour and spraying services
Volkswagen Crafter for Volkswagen Australia
DMMultimedia | 3d tutorials | mr Paint Techniques | Texturing : Raytrace paint
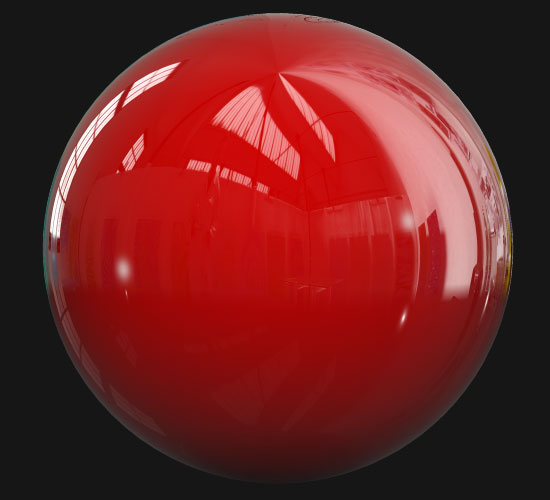
This looks OK, but a little simplistic. We can add depth to the paint by using a Fall-off map in the diffuse slot, so that the colour changes depending on the angle viewed (in the same manner as the reflectivity). Add a Fall-off map to the Diffuse slot :
And with the following setup:
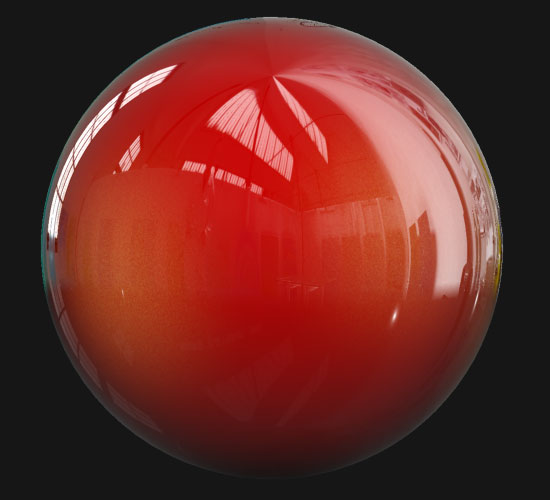
Rendering with this Fall-off map in the Diffuse slot will give us:
The addition of fall-off to the colour produces more depth to the paint effect. But, we can also add a little speckle to speculars to fake metallic flakes. To do this we need to adjust the material's Glossiness values as shown below:
Add a noise map to the Spec. Level slot, and a noise map to the Spec. Color slot.
Adjust the settings of the noise modifiers as follows (again the size settings will depend on the scale of your model/scene).
Uisng the above settings we get the following render - notice the specular blume is now scattered and coloured:
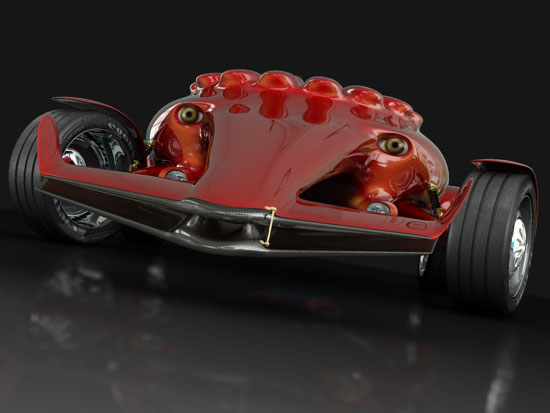
This paint is shown below rendered on the Schnorbill model. Experiment with different colours and falloff for different paint effects. In the next section we will look at adding more complexity to the falloff maps.
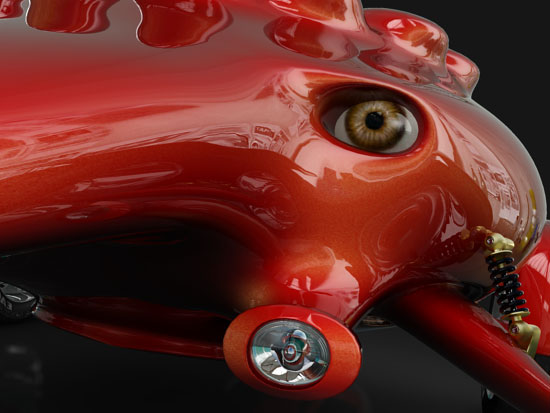
Close-up:


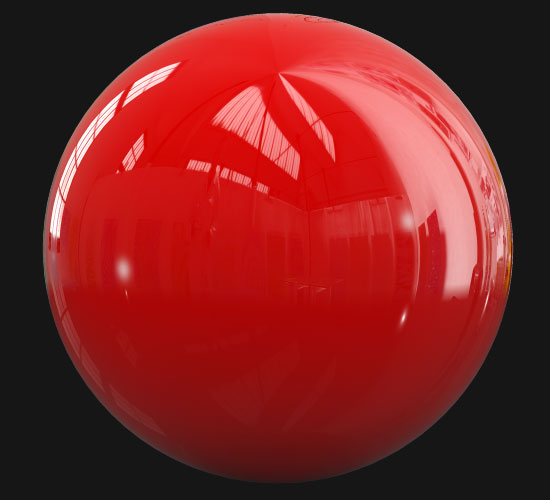
 The simplest method to create a Car Paint is to use the standard Raytrace material. Simply select a colour (216,0,0) for diffuse and set raytrace to Fresnel.
  The Front Colour is the same as above (216,0,0) and the Side Colour is set to (40,0,0) or Black.
 Adjust the Specular Level to 90 and the Glossiness value to 20. This will create a large soft specular area (presently white).